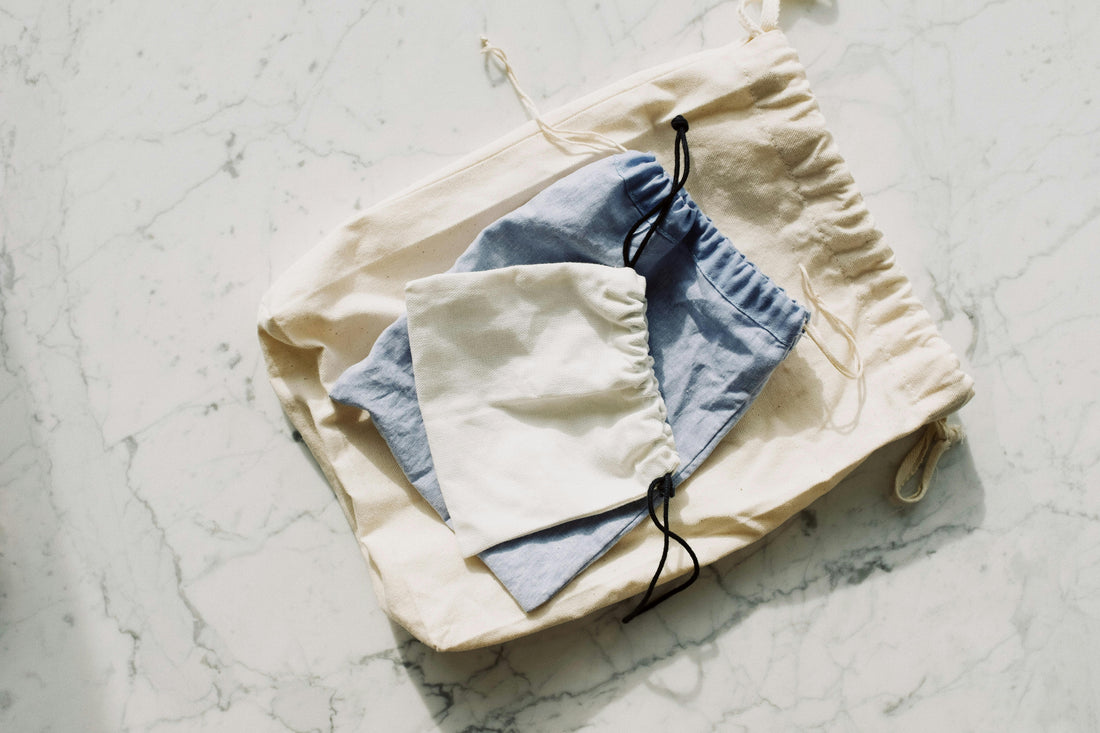
Reusable Produce Bag with a Seamless Bottom | Tutorial
This reusable produce bag is light, washable, and eco-friendly. These are also perfect for bread bags! Using one long rectangle means there is no bottom seam, making it more durable. The side-fold casing method keeps edges neat and fray-free without special tools. Please read through the instructions before beginning your project.
Materials
- Light, breathable cotton (voile, batiste, gauze, muslin) or linen/linen blend
- 1/2 inch cotton twill tape, ribbon, or cord (about 36 inches per bag)
- Matching thread
- Sewing machine
- 8" Scissors or rotary cutter
- Ruler
- Bodkin or safety pin
- Iron
- Pins or clips
Finished Sizes
Small: 9 x 11 inches
Medium: 12 x 14 inches
Large: 15 x 17 inches
(Adjust cutting sizes accordingly.)
Cutting Your Fabric
Cut one long rectangle to double your desired height plus 1.5 inches to account for the drawstring casing and 1 inch to the total width for seam allowances. Example for a small bag: 10 inches wide x 23.5 inches tall. These measurements are very forgiving!
- Prepare the Casing Ends (No Fray Method): Place your rectangle right side down. At both short ends, fold each side edge inward 1/4 inch toward the wrong side. Press and stitch close to the fold. This creates neat, fray-free drawstring openings.
- Make the Casing: On each short end, fold the top edge 1/4 inch to the wrong side and press. Fold again 3/4 inch and press. Stitch close to the inner fold to form the casing.
- Fold the Bag: With right sides together, fold the rectangle in half so casings line up at the top. The fold is now the seamless bottom.
- Sew the Side Seams: Starting just below the casing on each side, sew down to the bottom fold with a 3/8 inch seam allowance. Finish raw edges with zigzag, pinking shears. Alternatively, you could use French seams for extra strength. Note: You'd need to fold the bag wrong sides togther on step 3.
- Turn and Press: Turn your bag right side out and press seams flat.
- Insert the Drawstring: Measure out your drawstring to the desired length. You'll need two pieces that are the same size. Ensure they are long enough for your bag to open all the way while still haveing room for a knot. Attach a bodkin or safety pin to your drawstring and thread it through both casings (all the way around), back out the same side. Knot the ends together. Repeat on the other side.
Your bag is done! Get creative with sizing different print options! These are great for gift giving!

Care
Machine wash on gentle, tumble dry low or hang to dry.

