
Baby Teething Ring Tutorial - D.I.Y. Baby Shower Gift (Updated)
Hello! I have a few different patterns in the works, but this one has been extremely popular, so I figured I'd start with an update and then move forward from here. :) This pattern is a free download and makes a great gift for the little people in your life! You can purchase this pattern for $3.99 in an easy to use downloadable PDF here. Just want the free version? Just keep reading!
Feel free to experiment with your own patterns to get a shape that you love. I recommend keeping the length the same as mine to ensure it wraps around up to a 3" ring size without trouble, but you can experiment with the shape at the ends of the pattern and get great results.
Let's get started!
Difficulty: Beginner
Supplies:
- Printable pattern
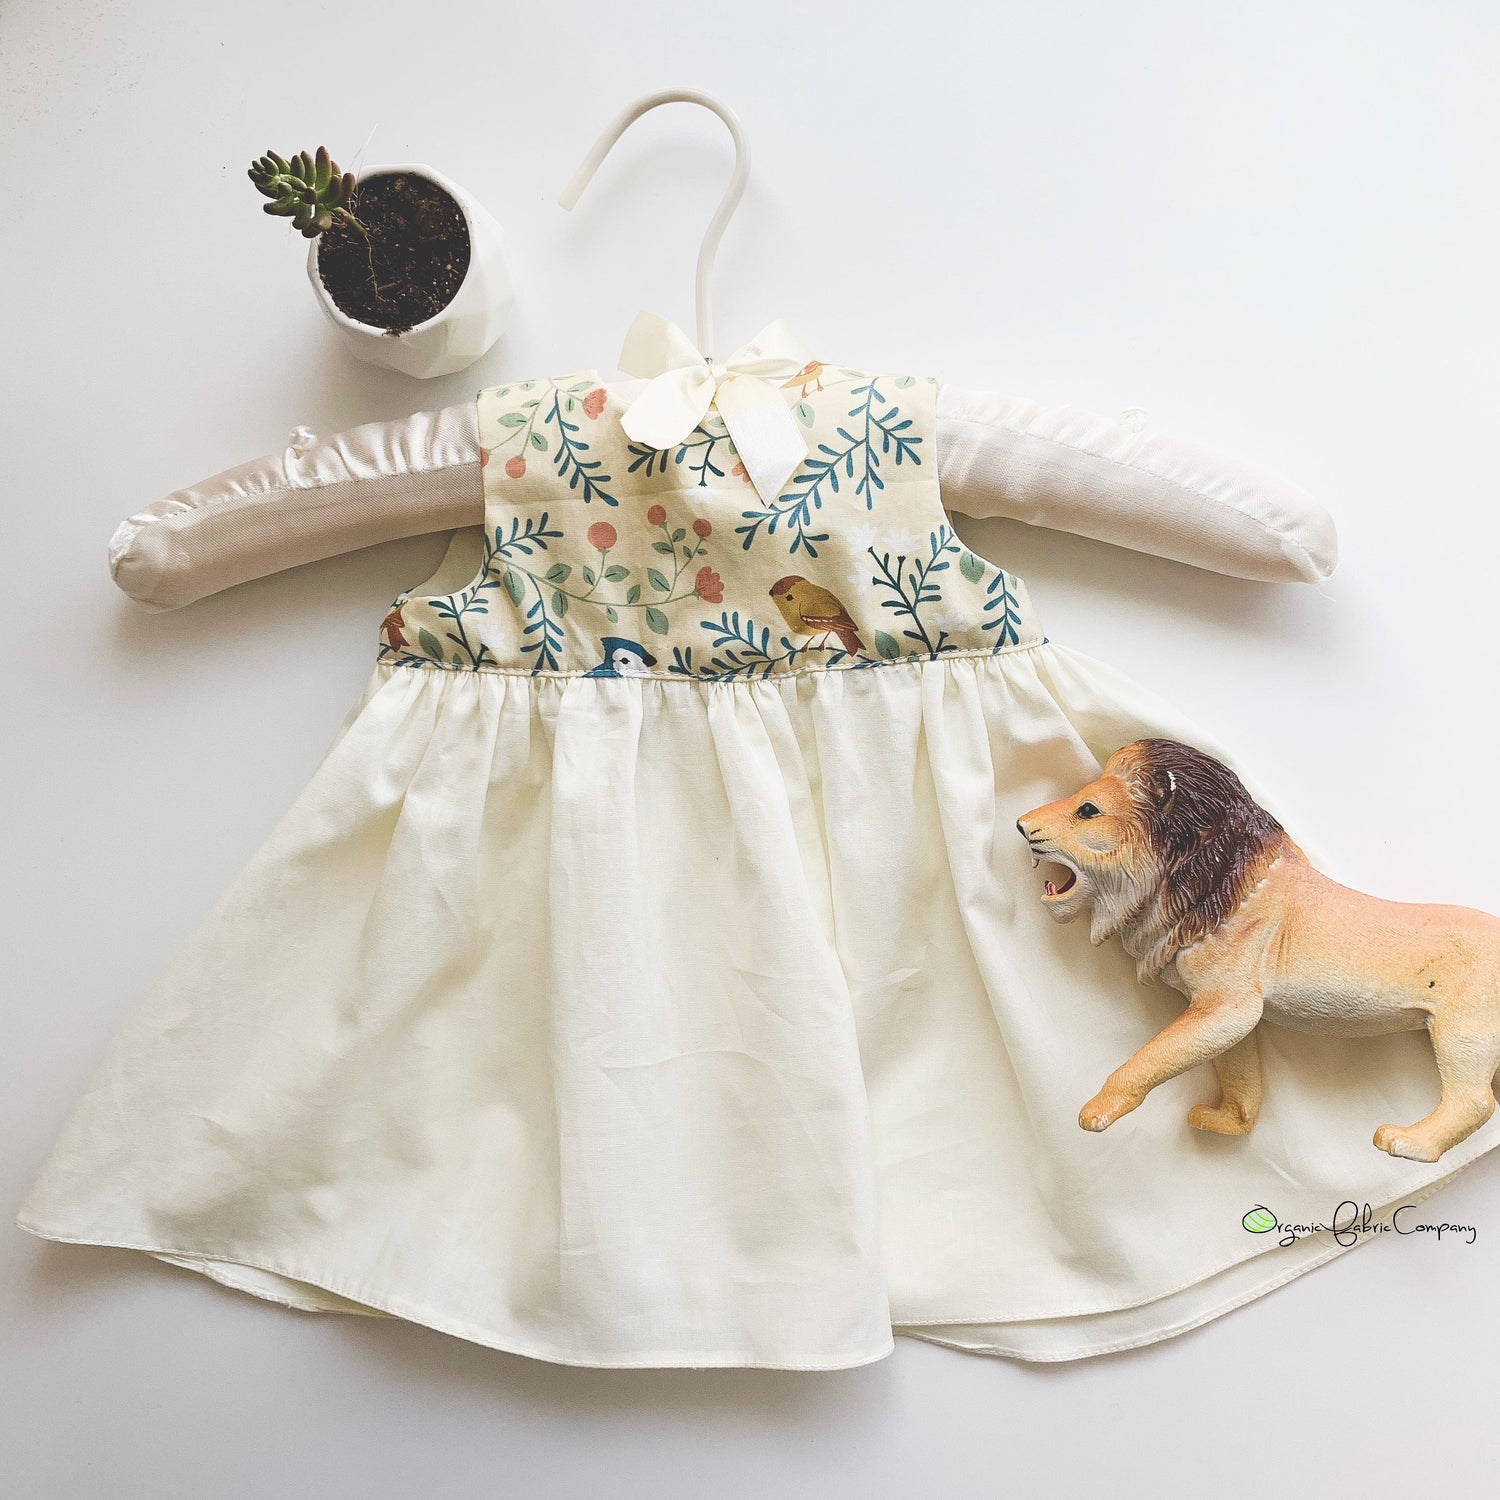
- 1/4 yard of organic fabric for the front -- quilting cotton and knits are great choices. I'm using a piece from Birch Fabric's Hidden Garden collection here.
- 1/4 yard of organic fabric for the back -- I like texture on the back. I used American made organic cotton velour on this one.
- CPSIA compliant wooden ring -- since babies put these in their mouths, being CPSIA compliant is essential. CPSIA compliance requires third party testing verifying that the rings are free from chemicals and safe for infant use.
- Something to write with
- Pins/clips
- Scissors I use one pair for paper cutting (paper is a sure way to dull good fabric shears), one for fabric, and then some cute thread snippers.
- (optional) Turning stick/tool -- I use a wooden chopstick.

First you will need to print out the pattern. Be sure to print "actual size", or 100%. Cut it out and then tape it together. Line up the red lines right over one another as shown.
Paying attention to the direction of your printed fabric, and with the right sides together, trace out the pattern.
Tracing out a notch at the turn hole will ensure that you've caught all of your layers when top stitching it at the end (this is especially helpful for newer sewists).
Carefully cut out your fabric together at the same time and then clip or pin it. If you have trouble with shifting fabric, it's a good idea to pin it before cutting.

Starting at the turning hole, stitch all the way around (start and end with a back-stitch), stopping before reaching the other side of the turning hole.
If you are using a stretch fabric like I am with the velour, you can lower your tension by a step and set your stitch to 4 to avoid bunching/gathering of your fabric. I find that keeping my stretch layer on the bottom against the feed dogs works better than having it the other way around.

Trim excess material. Don't get too close to your stitching and be sure not to cut off that turning hole excess.

Turn your work right-side out. Be sure to work out the edges and corners (this is where the wooden chopstick becomes a very handy tool). You can use a warm iron here and press the edges if you'd like.

Starting with the turning hole, begin stitching all the way around.

I generally use the primary color of my fabric for top stitch. It creates a clean and professional finish.
You are all done! Time to wrap your ring.

Create an "x" with the "ears."

Pull the "x" through your ring and then back through that bottom loop wrapping the wooden ring.

Pull the band toward the top of the ring while adjusting the "ears" with the print side out. This will secure the fabric onto the ring.

Adjust the material around as needed and you are done! The wood may be treated with a light layer of coconut oil/vegan wax to keep it soft and hydrated.

Be sure to share photos of your teething toys and tag us on Instagram or Facebook!
Ready to make the switch to organic fabric today? By choosing sustainable materials, you can help reduce the impact of textile production on our planet and support the farmers who grow our clothes. 🙌
You can access our FREE guide on eco-friendly materials here!


3 comments
I just purchased the PDF of this pattern. Thank you!
Oooh, I like this! Thanx
Thank you so much for this great pattern/tutorial! I ordered some of your rings and will be making a few for my new grandbaby on the way!