Looking to Upgrade Your Bedding? An Organic Pillowcase Tutorial (Beginner's Project)

Your skin is your largest organ, and your face has your most delicate skin and houses your respiratory inlet/outlets. Pillows are an inexpensive and practical way to upgrade your bedding!

To make your own standard pillowcase, you will need:
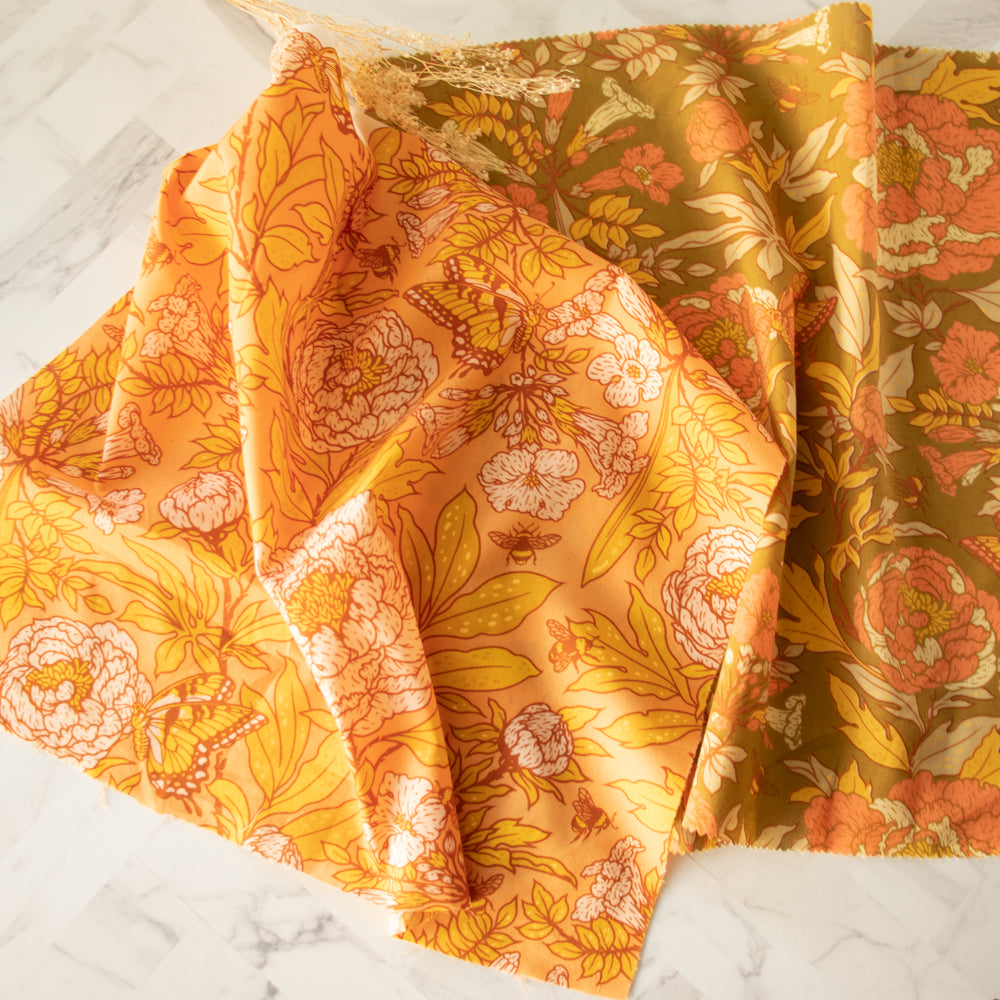
- 1 yard of organic fabric (poplin is a great choice). This yardage allows for directional prints too! SCORE!
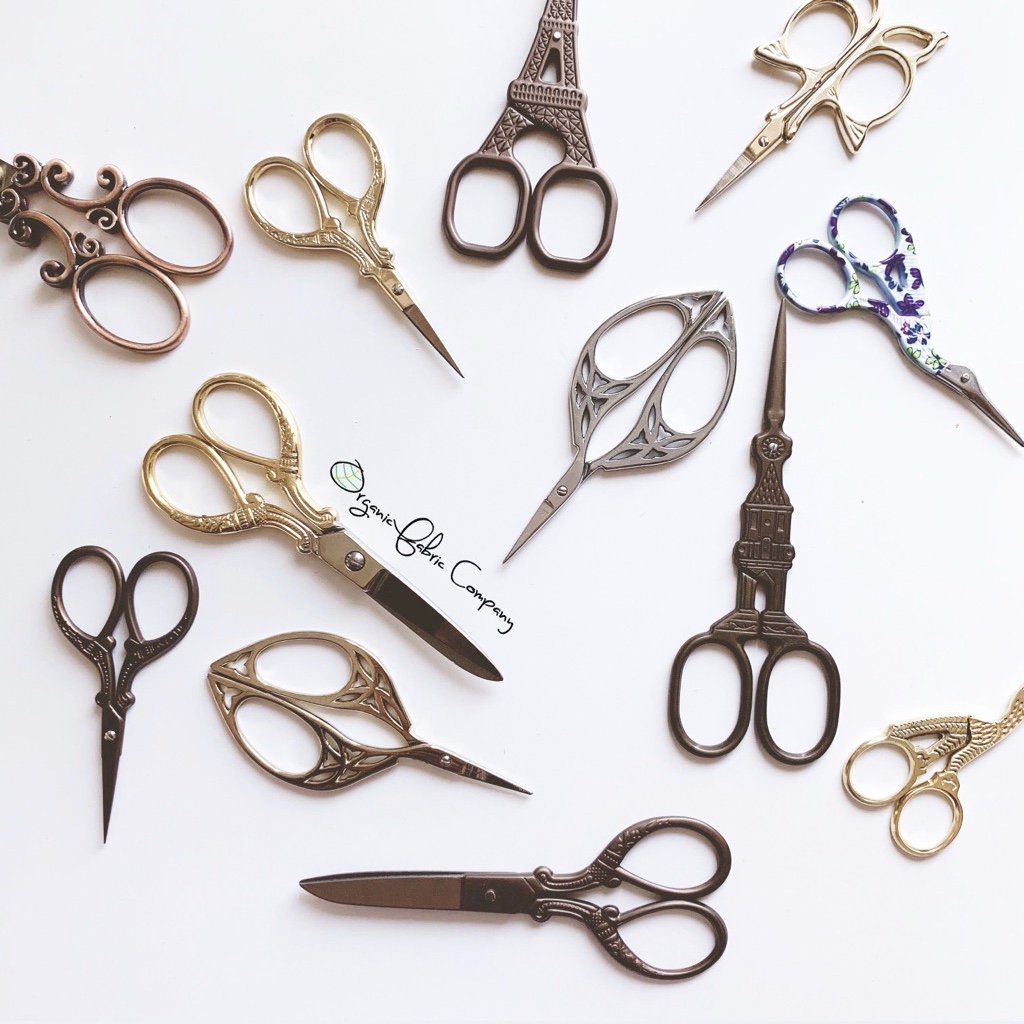
- Basic sewing supplies (thread, scissors, and pins)
- A pillow (or make your own by closing all 4 sides and stuffing with our organic cotton fill!)
Preparation:
Prep your project by pre-washing and drying your cotton, ironing it, and then cutting the selvage edges off. Pinking shears are great for this.
Let's get started!
- Open your fabric up to the full width, and then fold in half with right-sides together so it measures 18" x 42". Pin around the pillowcase pinning one 18" side closed and the 42" side (opposite of the fold) closed.
- Starting at the fold, sew around the two pinned raw edges with a 1/2" seam allowance, leaving the unpinned 18" side open.
- You will now have a pillowcase that has one raw edge that is open (where you put your pillow in).
- With pinking shears, trim off 5" from the raw length and fold the raw length back approximately 5" so that you have about 5" of the right side of the pillow case now exposed.
- Pin the fabric in place. Once pinned, your pillow case should measure approximately 17" x 32"
- Stitch this fold down near the raw edge. Be sure that you are only stitching through two layers of fabric and not four otherwise you will sew your case shut.
- Turn your new organic pillowcase right-side out and stuff with your favorite pillow!

That's it! Now time to go create! Be sure to tag us on Instagram and show us the pillowcases you make.
Use code: SPRINGFLING for 10% off all in-stock poplin!

For those curious, the rest of our organic bed set came from Target, but the sets only come with two pillow cases, so I sew two extra coordinates per set.