
Side-Snapping Bib Pattern - Free Tutorial for Beginners
Today we have a new pattern for you all! You can purchase this pattern for $3.99 in an easy to use downloadable PDF here. This is still available for free. Just keep reading. 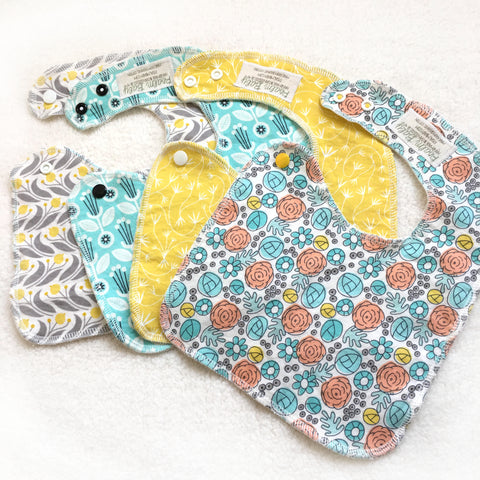
Here is an easy side-snapping bib pattern for your use. I love side-snapping bibs for a lot of reasons, mostly because they can be unsnapped while baby is sleeping. You do not have to use snaps for this pattern. You can also use Velcro if you'd prefer or if it's simply what you have on hand. Metal or Kam Snaps (external links) are both acceptable for this bib. Disclaimer: "Metal snaps" is an affiliate link "Kam Snaps" is just a link to where I buy my resin snaps (pictured).Let's get started!"
Difficulty: Beginner
Supplies:

 First, pre-wash all of your fabrics.Print out your pattern at 100% scale and ensure that it measures up correctly as shown.
 Next, cut out your pattern.
 Lay out your pattern piece over your two layers of fabric. If you are serging, you will lay the fabric with right sides out (as shown). If you are using a sewing machine to turn and top stitch, lay the fabric with the right-sides together.
Tip: If your fabric has stretch, have your stretch run horizontal to the pattern you do not want the bib to stretch downward if it gets wet. Cut out your traced fabric leaving a 1/4" seam-allowance. This seam-allowance is not built into the pattern. If you serge your bibs, this is the stitch line to follow.
 After your bib is sewn up, it should be roughly the size of the original bib pattern/template.
  Match up the snap markers and mark the bib snapping the correct areas.
 You are all done!
 Enjoy the work of your hands!
 Easy, right? Be sure to share this simple tutorial with another maker!
Be sure to share photos of your bibs and tag us on Instagram or Facebook!
Supplies:
- <<FREE Printable pattern>> CLICK HERE
- 1 fat quarter for one bib or 1 yard for approximately 10-12 bibs of GOTS or OEKO-TEX cotton fabric for the front -- quilting cotton, gauze, flannel and knits are great choices. I'm using a piece from Birch Fabrics Hidden Garden here.
- Equal amount of organic fabric for the back -- I like texture and absorbency on the back. I used hemp fleece on these.
- Closures of your choice: Snaps, velcro
- Water soluble marker
- Pins/clips
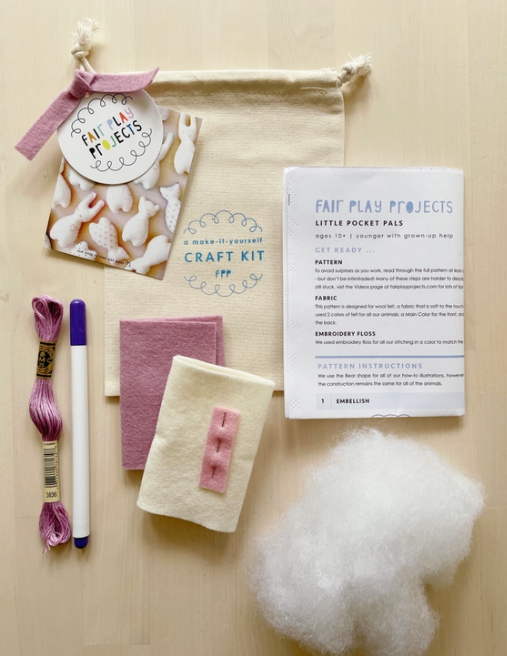
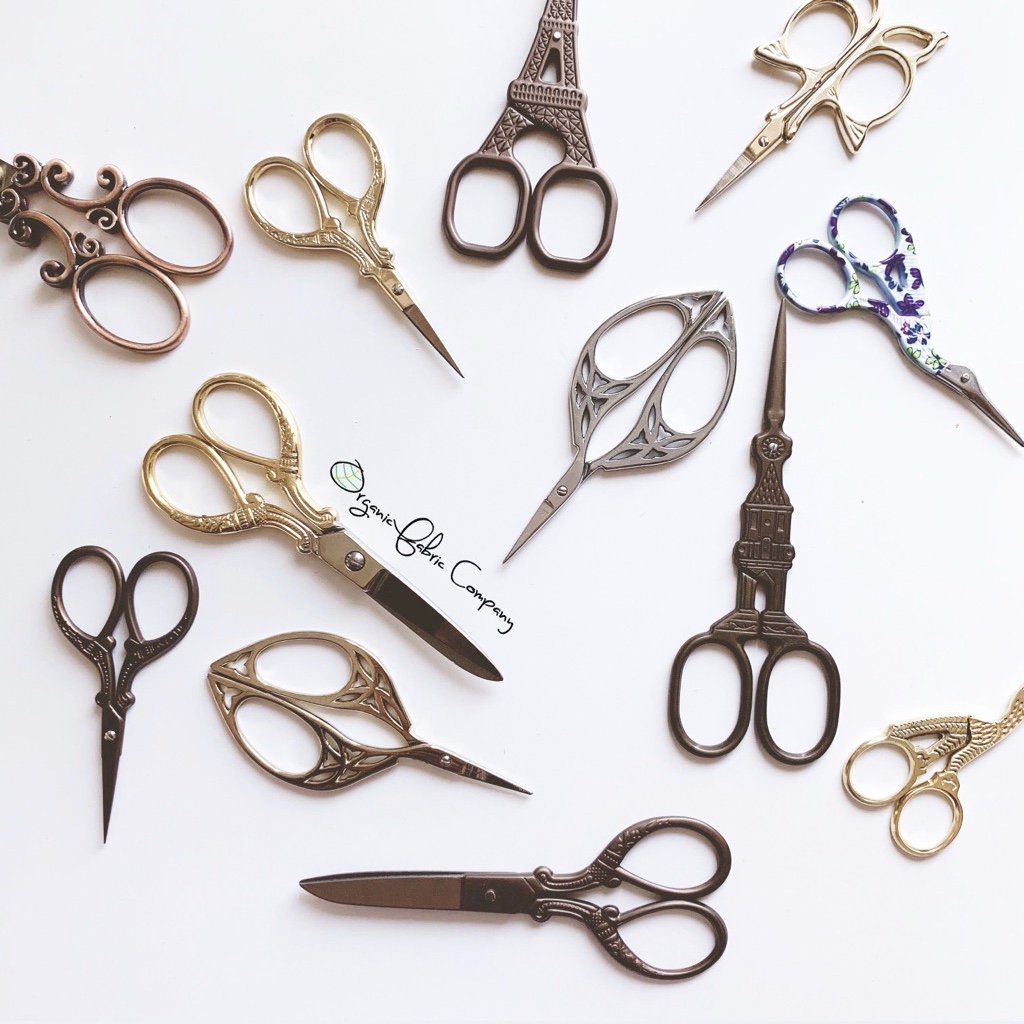
- Scissors I use one pair for paper cutting (paper is a sure way to dull good fabric shears), one for fabric, and then some cute thread snippers.
-
Turning stick/tool. (Optional if using a regular sewing machine instead of a surger)
- Serger is not required. Pattern can be turned and top-stitched with a regular sewing machine.
First, pre-wash all of your fabrics.Print out your pattern at 100% scale and ensure that it measures up correctly as shown.Next, cut out your pattern. Lay out your pattern piece over your two layers of fabric. If you are serging, you will lay the fabric with right sides out (as shown). If you are using a sewing machine to turn and top stitch, lay the fabric with the right-sides together.Tip: If your fabric has stretch, have your stretch run horizontal to the pattern you do not want the bib to stretch downward if it gets wet.
Cut out your traced fabric leaving a 1/4" seam-allowance. This seam-allowance is not built into the pattern. If you serge your bibs, this is the stitch line to follow.After your bib is sewn up, it should be roughly the size of the original bib pattern/template. Match up the snap markers and mark the bib snapping the correct areas.You are all done!Enjoy the work of your hands!Easy, right? Be sure to share this simple tutorial with another maker!Be sure to share photos of your bibs and tag us on Instagram or Facebook!

3 comments
Hi Molls227, the pattern link is included above. It is right under the image of the pattern.
I keep looking for the “free” pattern… Even went to the blog. But all avenues point back to the $3.99 PDF.
Thank you. God Bless.