Baby Teething Ring Tutorial - D.I.Y. Baby Shower Gift (Archived Version)
FIND THE UPDATED PATTERN AND TUTORIAL HERE
Hello lovely people! First I will start off with a quick note: I've been blogging for over a decade and have made several tutorials in the past, but making patterns for other people to use is new for me. The pattern I made for this tutorial isn't pretty, but it works! Feel free to experiment with your own patterns to get a shape that you love. I recommend keeping the length the same as mine, but you can experiment with the shape at the ends of the pattern and get great results.
Let's get started!
FIND THE UPDATED PATTERN AND TUTORIAL HERE
Difficulty: Beginner
Supplies:
- Printable pattern
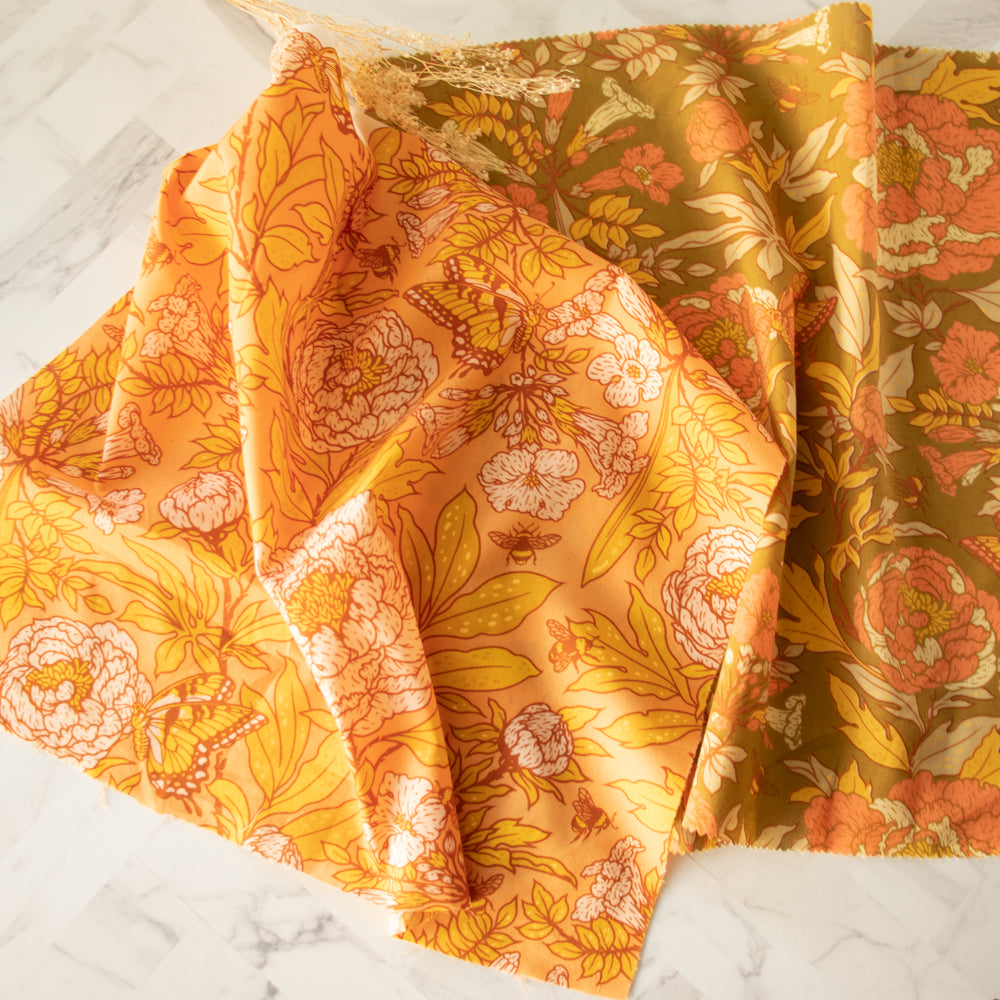
- 1/4 yard of organic fabric for the front -- quilting cotton and knits are great choices. I'm using Swallows Dusk here.
- 1/4 yard of organic fabric for the back -- I like texture on the back. I used hemp fleece on this one.
- CPSIA compliant wooden ring -- since babies put these in their mouths, being CPSIA compliant is essential. CPSIA compliance requires third party testing verifying that the rings are free from chemicals and safe for infant use.
- (optional) Turning stick/tool -- I use a wooden chopstick.

First you will need to print out the pattern. Be sure to print actual size, or 100%. Cut it out and then tape it together.
Paying attention to the direction of your printed fabric, and with the right sides together, trace out the pattern. If either pieces of fabric have stretch, I prefer the stretch running horizontally on these.

Tracing out a notch at the turn hole will ensure that you've caught all of your layers when top stitching it at the end.

Carefully cut out your fabric together at the same time and then clip or pin it. If you have trouble with shifting fabric, it's a good idea to pin it before cutting.

Starting at the turning hole, stitch all the way around, stopping before reaching the other side of the turning hole.

Trim excess material. Don't get too close to your stitching and be sure not to cut off that turning hole excess.

Turn your work right-side out. Be sure to work out the edges and corners. You can use a warm iron here and press the edges if you'd like.

Starting with the turning hole, begin stitching all the way around.

I generally use the primary color of my fabric for top stitch. It creates a much cleaner and more professional look, but I used a contrasting color here for the purpose of clarity in this tutorial.
You are all done! Time to wrap your ring.

Lay the fabric over the ring as shown and wrap the two wider ends around the back of the ring and through the opening.

Pull the band toward the top of the ring while adjusting the "ears" with the print side out. This will secure the fabric onto the ring.


Adjust the material around as needed and you are done! The wood may be treated with a light layer of coconut oil to keep it soft and hydrated.
FIND THE UPDATED PATTERN AND TUTORIAL HERE
Be sure to share photos of your teething toys and tag us on Instagram or Facebook!